Painting a shipping container is not just about enhancing its look; it’s essential for keeping the container in good shape. This guide will walk you through preparing to paint a shipping container, from cleaning it up to fixing any rust or damage. We’ll then dive into choosing the right paints and tools for the job. You’ll learn about different techniques to paint a shipping container, ensuring a lasting finish. We’ll also share some unique ideas to make your container stand out and highlight the need for regular upkeep. By covering these key points, you’ll be well on your way to extending your shipping container’s lifespan, safeguarding your items, and turning a plain container into an attractive and useful space.
Preparing Your Shipping Container for Painting
Before painting your shipping container, thorough surface preparation is key. This crucial step ensures strong paint adhesion and prolongs the container’s lifespan. Begin by eliminating all dirt, grease, and accumulated debris. For this, a high-pressure washer is effective, but for more stubborn grime, specialized cleaning agents may be necessary. It’s important to completely dry the container afterward to prevent moisture from getting trapped under the new paint layer.
Addressing rust and damage is your next priority, as these are frequent issues with shipping containers. Inspect for rust in areas where the original paint has peeled or the metal has been exposed to moisture. Use a wire brush or sandpaper to scrape off rust and any flaking paint. Afterward, applying a rust inhibitor is essential to halt further corrosion. It’s equally crucial to repair significant damages like dents or holes, which not only affect the container’s structural integrity but can also impact the final look of your paintwork.
Priming the surface is the final step before you can start painting. Select a high-quality metal primer to ensure your paint job’s longevity and to provide an additional layer of protection against rust. Apply the primer evenly across the container, with particular attention to seams and welded joints that are more susceptible to rust. Follow the drying times recommended by the primer manufacturer before moving on to painting. This step is not just about durability; a well-applied primer enhances the overall appearance of the finished paint job. Additionally, consider environmental factors when scheduling your painting project. Ideal conditions include low humidity and mild temperatures to ensure optimal drying and curing of the paint and primer.
Choosing the Right Paint and Tools
Choosing the right paint for your shipping container is essential for both aesthetics and longevity. Marine or direct-to-metal (DTM) paints are specifically formulated to withstand harsh weather conditions and resist corrosion, making them ideal for the metal surfaces of shipping containers. These paints provide excellent adhesion, reducing the likelihood of peeling or flaking over time. Moreover, they are available in a wide range of colors and finishes, allowing for extensive customization. Whether you’re looking for a matte finish for a modern look or a glossy finish for added durability, there’s a paint option to meet your needs while ensuring your container remains protected against the elements.
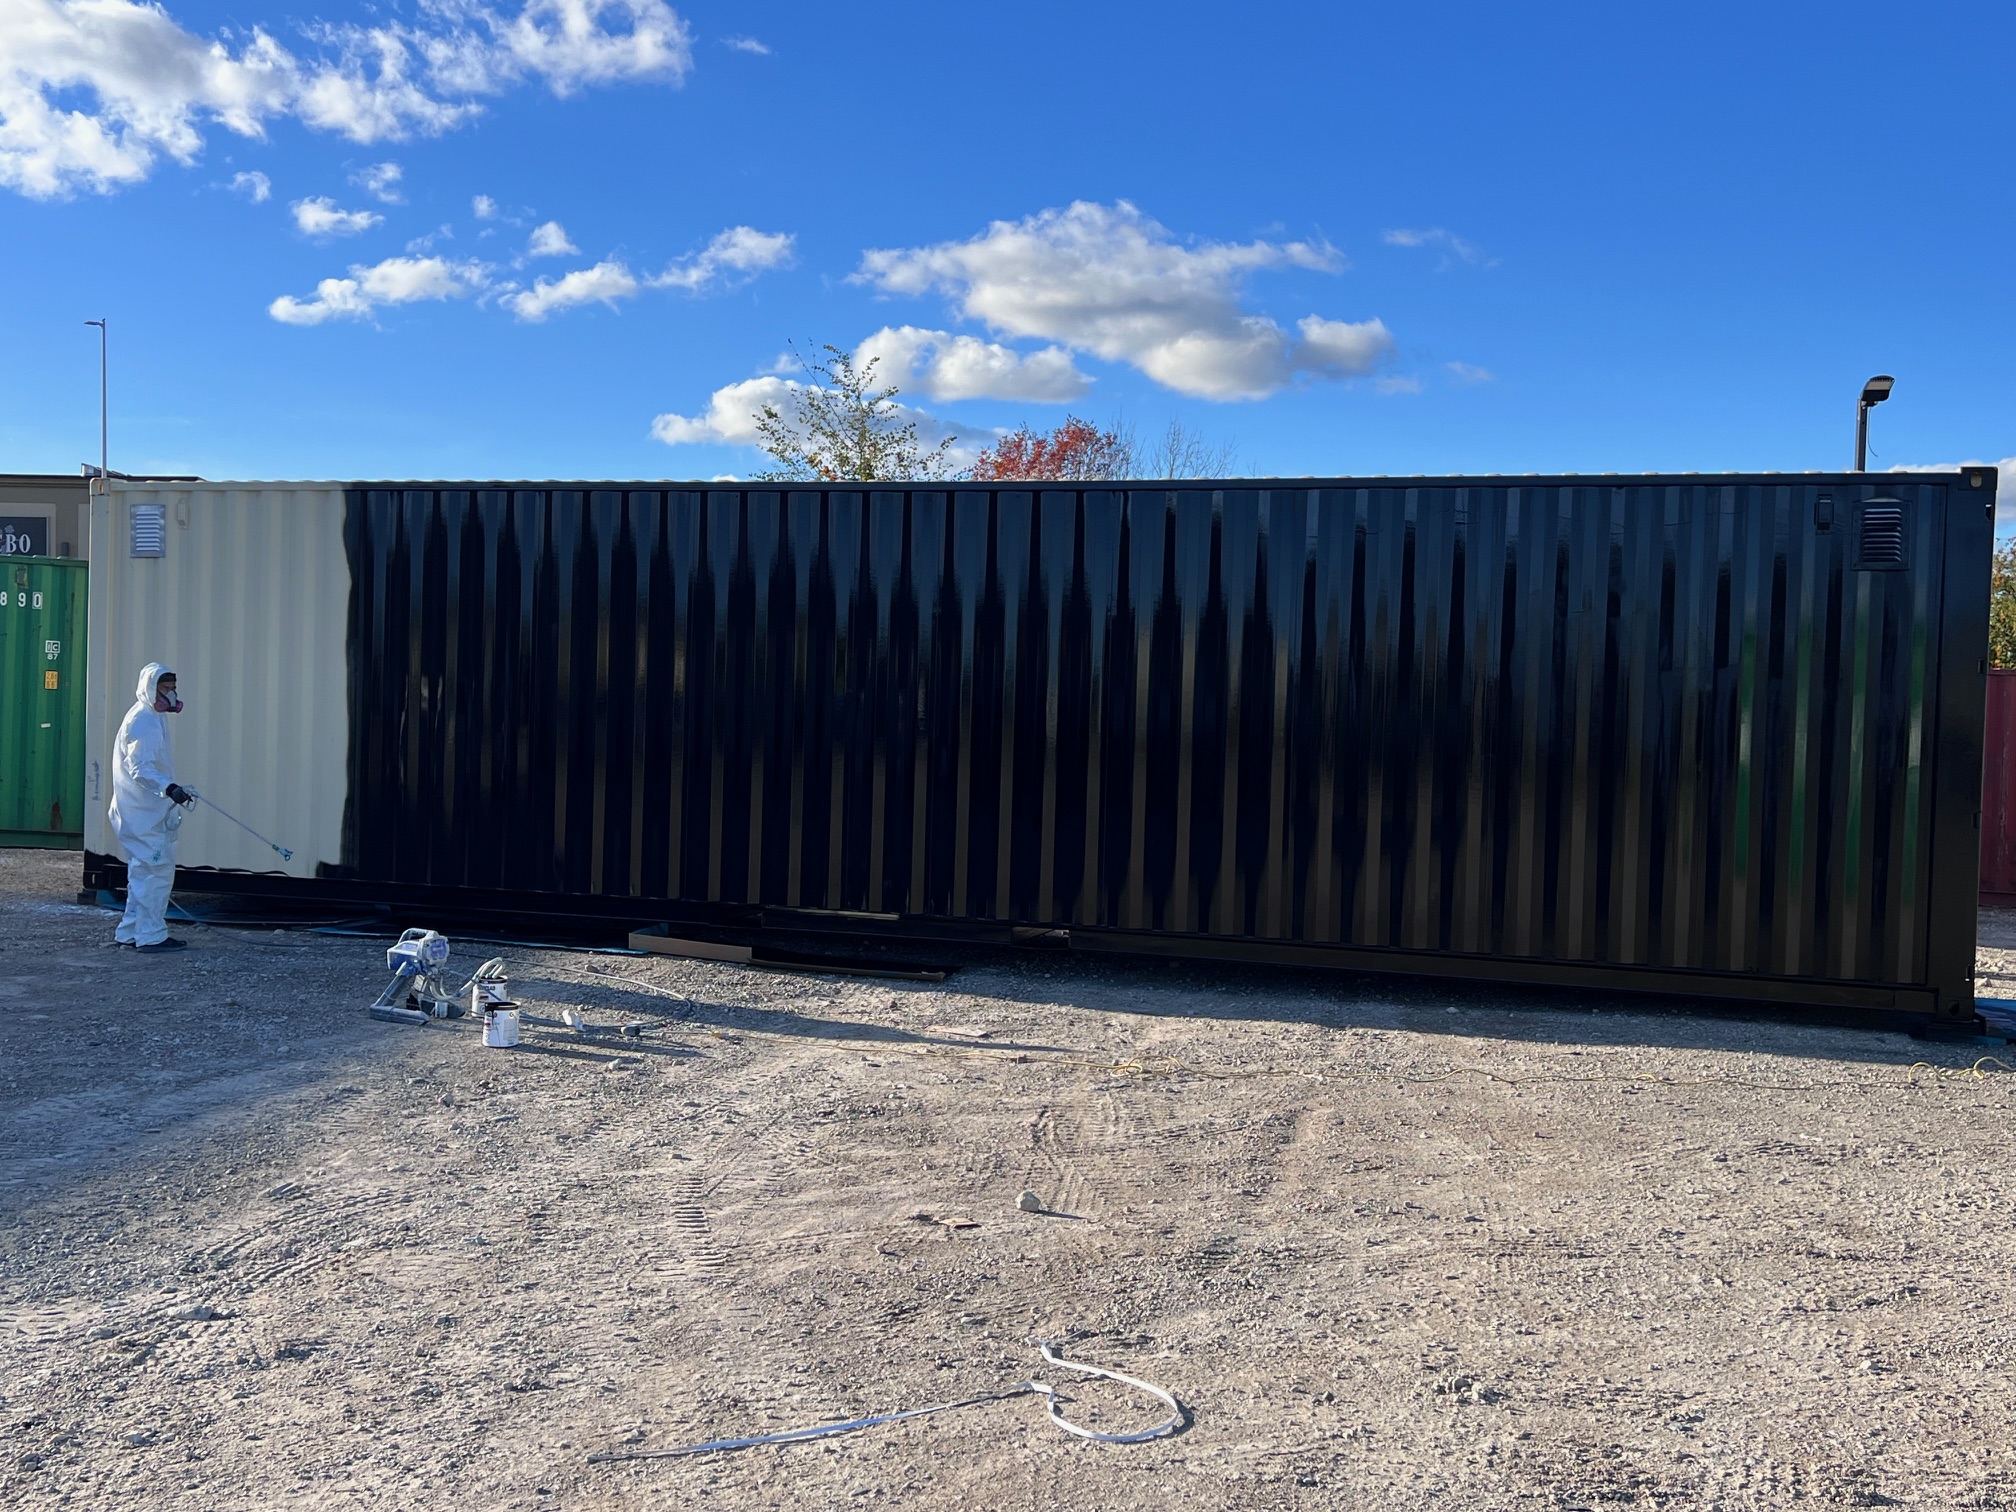
For a successful paint application, having the right tools is just as important as choosing the right paint. Rollers are great for covering large, flat areas quickly and efficiently, ensuring a uniform layer of paint. Brushes, on the other hand, are perfect for getting into those hard-to-reach areas and corners, as well as for touch-up work and detailed painting. For those looking for a professional-grade finish, a paint sprayer can be a valuable tool. Sprayers provide an even coat of paint over large surfaces and can save time. However, they do require a bit of practice to master the technique and avoid drips. Additionally, it’s important to use drop cloths to protect the ground and surrounding areas from paint splatters, and painter’s tape can help achieve sharp, clean edges around windows, doors, and other fixtures.
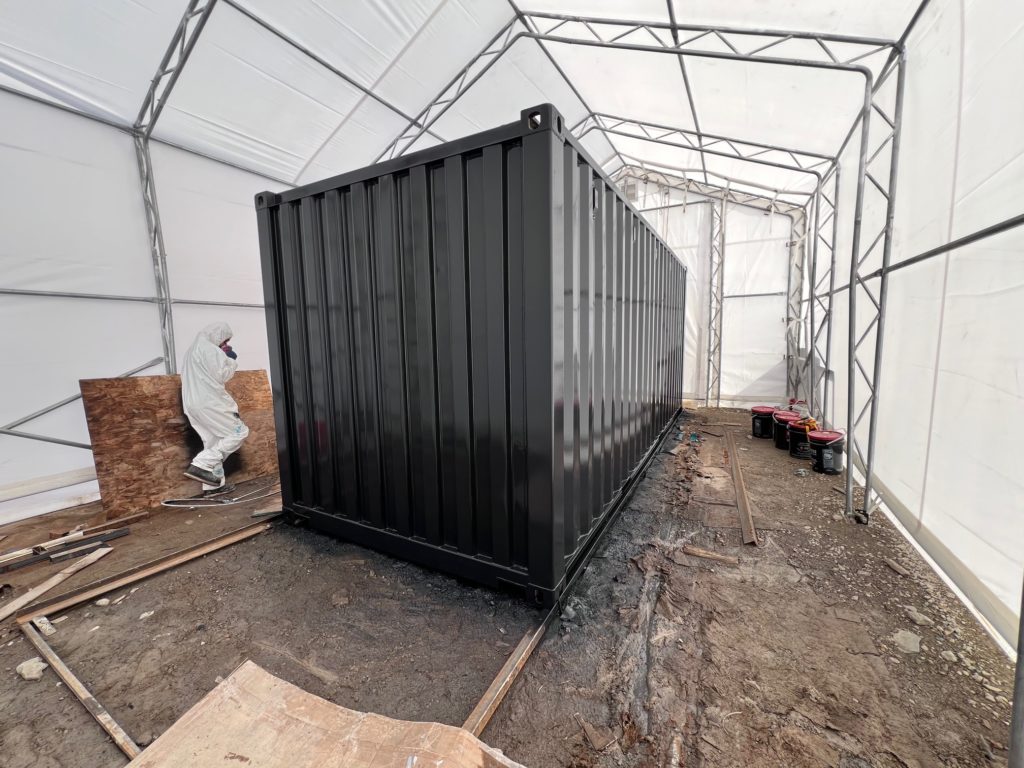
Prioritizing safety during the painting process cannot be overstated. Protective gloves are essential to prevent skin irritation from shipping container paint and cleaning chemicals. Safety goggles protect your eyes from splashes and fumes, particularly important when using a sprayer or working overhead. A respiratory mask is crucial to avoid inhaling harmful fumes, especially in enclosed spaces or when using solvent-based paints. Ensuring good ventilation is key to maintaining a safe working environment; it helps disperse fumes and keeps the air fresh. By taking these safety precautions, you can ensure a safe and comfortable painting experience while achieving the best results for your shipping container project.
Painting Techniques and Best Practices
When painting a shipping container, selecting an effective technique is crucial for achieving a professional look. While brushes are perfect for detailed work and reaching into tight corners, rollers are ideal for swiftly covering large flat areas with a uniform layer of paint. However, for the best results, using an airless sprayer is highly recommended. An airless sprayer provides a flawless, professional finish, evenly coating surfaces without leaving brush marks or roller patterns. Although it demands a bit of practice to master, the investment in skill pays off with superior coverage and speed, especially for larger containers.
The painting process kicks off by addressing the surface condition of the shipping container. Bare metal areas require a thorough primer application to ensure proper paint adhesion and to enhance the finish’s durability. Using a roller for priming provides quick and even coverage, preparing a solid base for subsequent paint layers. However, areas that are already painted can be directly sprayed with paint, bypassing the primer stage, provided the existing paint is in good condition.
When adding paint, whether over primer or existing paint, applying multiple thin coats is key. This approach avoids drips and ensures a smooth finish. Patience is crucial; allowing each coat to dry fully before applying the next pays off in the quality and durability of the finish. This methodical approach leads to a professional-looking result that lasts longer.
Creative Ideas for Shipping Container Aesthetics
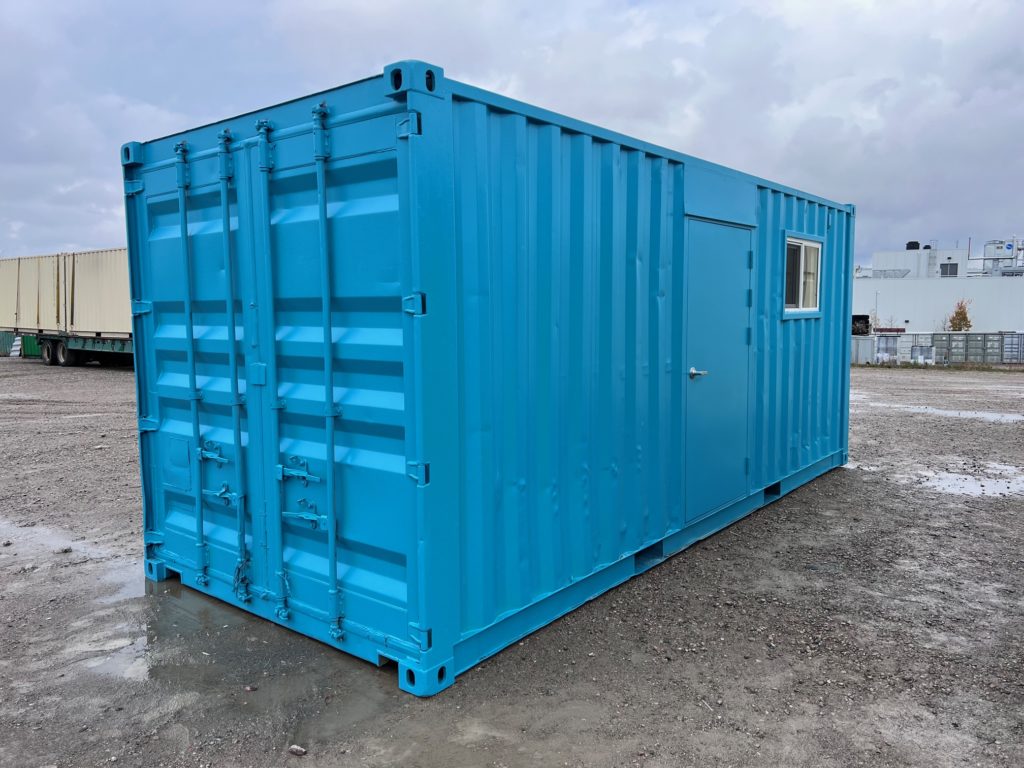
Selecting the right colors and design patterns can transform a shipping container. Bright colors make it stand out, while neutral tones blend with surroundings. Patterns, from simple stripes to complex murals, add personality. Consider the container’s environment to ensure harmony.
Adding logos or artwork personalizes your container further. This can be done through stencils or professional painters. Inside, thoughtful lighting enhances features and creates ambiance. Accessories like planters or outdoor furniture complement the container’s aesthetic, making it a functional and stylish space. For more ideas on the shipping container use check out our previous article.
Maintenance and Upkeep
Maintaining your painted shipping container regularly is crucial for preserving its appearance and structural integrity. It’s important to inspect the container periodically for any signs of wear, such as chips, scratches, or areas where the color has started to fade. Keeping the surface clean is also essential; a gentle wash with mild soap and water can effectively remove accumulated dirt, grime, and other debris, helping to prevent the buildup that can lead to more serious issues like rust and corrosion.
To safeguard your paint job against the harsh effects of the environment, consider applying a clear sealant coat every few years. This additional protective layer can significantly extend the life of your paint by providing a barrier against moisture, UV rays, and fluctuating temperatures. Moreover, it’s wise to position your shipping container in a way that minimizes its exposure to direct soil contact and encroaching vegetation, as these can contribute to moisture retention and accelerate rust formation.
When you notice substantial fading of the paint or extensive damage, it’s time to consider repainting your shipping container. Promptly addressing any rust spots by treating them and applying a new coat of paint can halt the progression of corrosion, preventing it from penetrating deeper into the metal. Regular upkeep, combined with timely repainting, ensures your container remains visually appealing and functionally sound for many years, maximizing your investment and the utility of your container.
Conclusion
Painting a shipping container boosts its beauty and lifespan. This article guided you through crucial steps like cleaning and rust fixing for a successful paint job. We explored choosing top paints and tools, highlighting the need for quality for a durable finish. Creative designs can turn a basic container into a standout piece with bold colors or unique artwork.
Ongoing care is key to keep your container looking great and strong. Regular checks, cleanings, and protection from the elements are vital. When wear shows, a fresh paint job and fixing any damage will refresh your container, making it last longer. Following these tips, your painted container will be both useful and stylish. Seablox is here to help paint your container and ensure the finished product meets all your expectations.